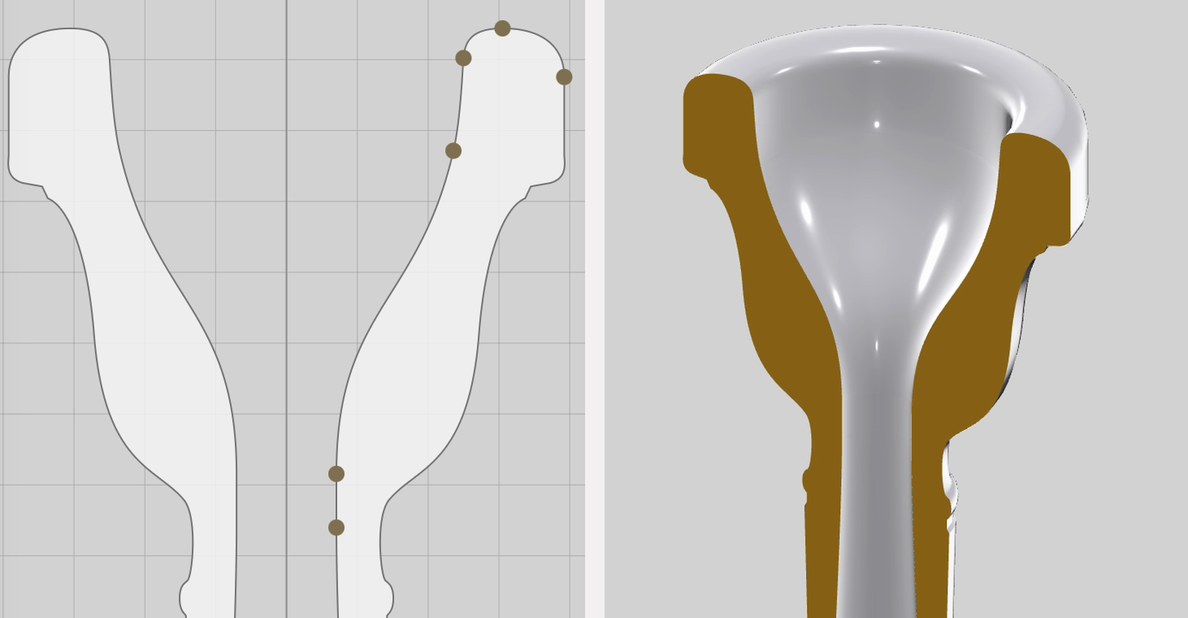
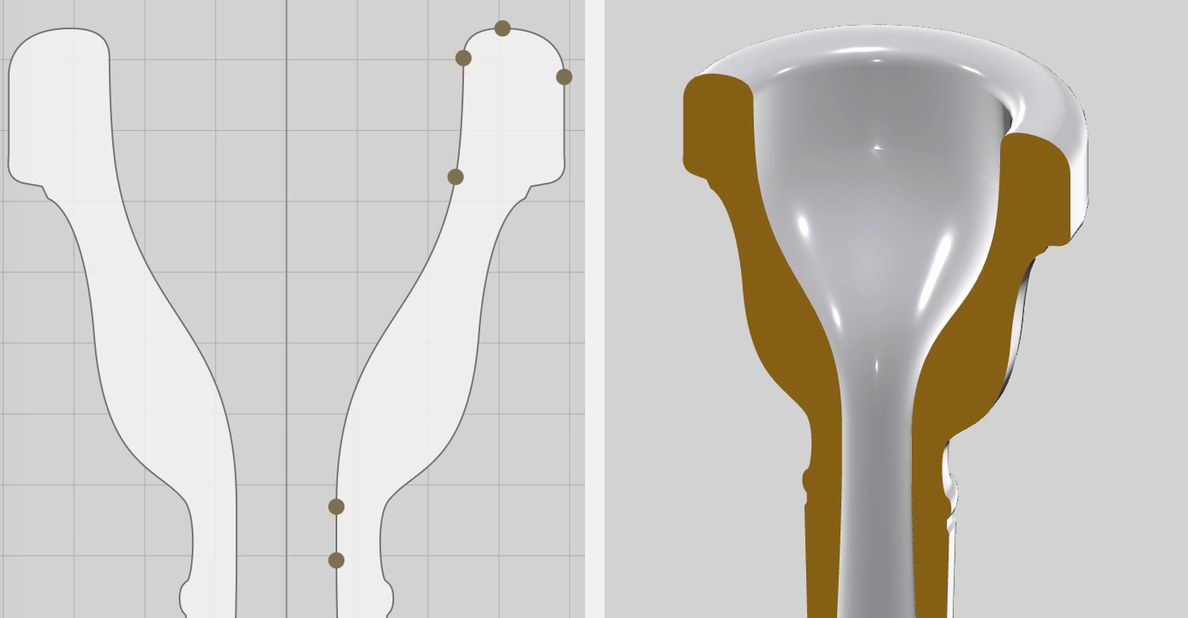
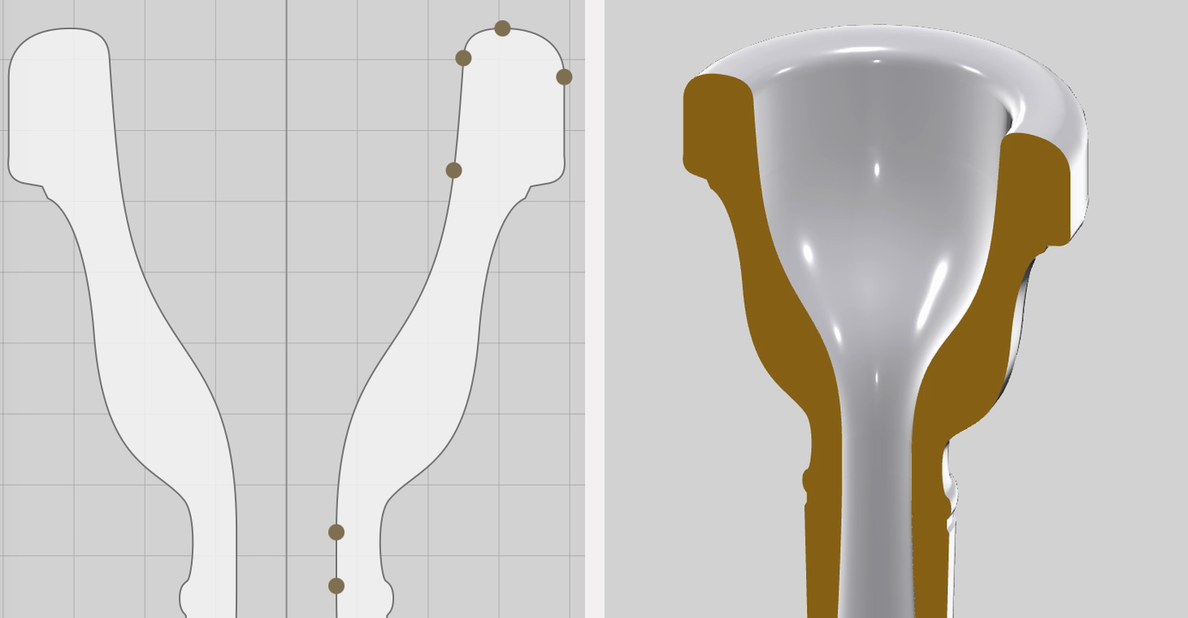
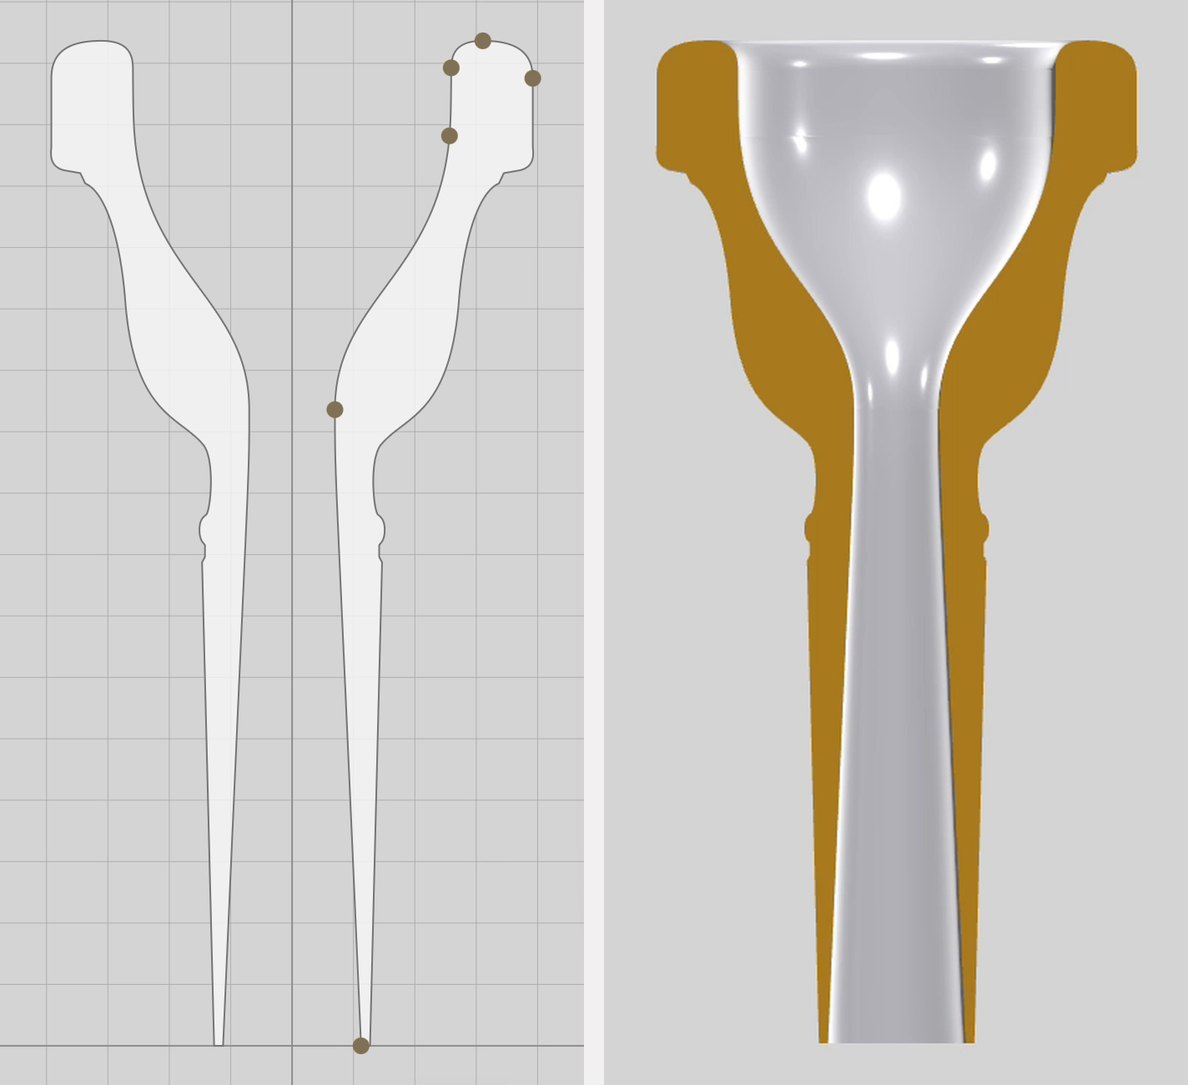
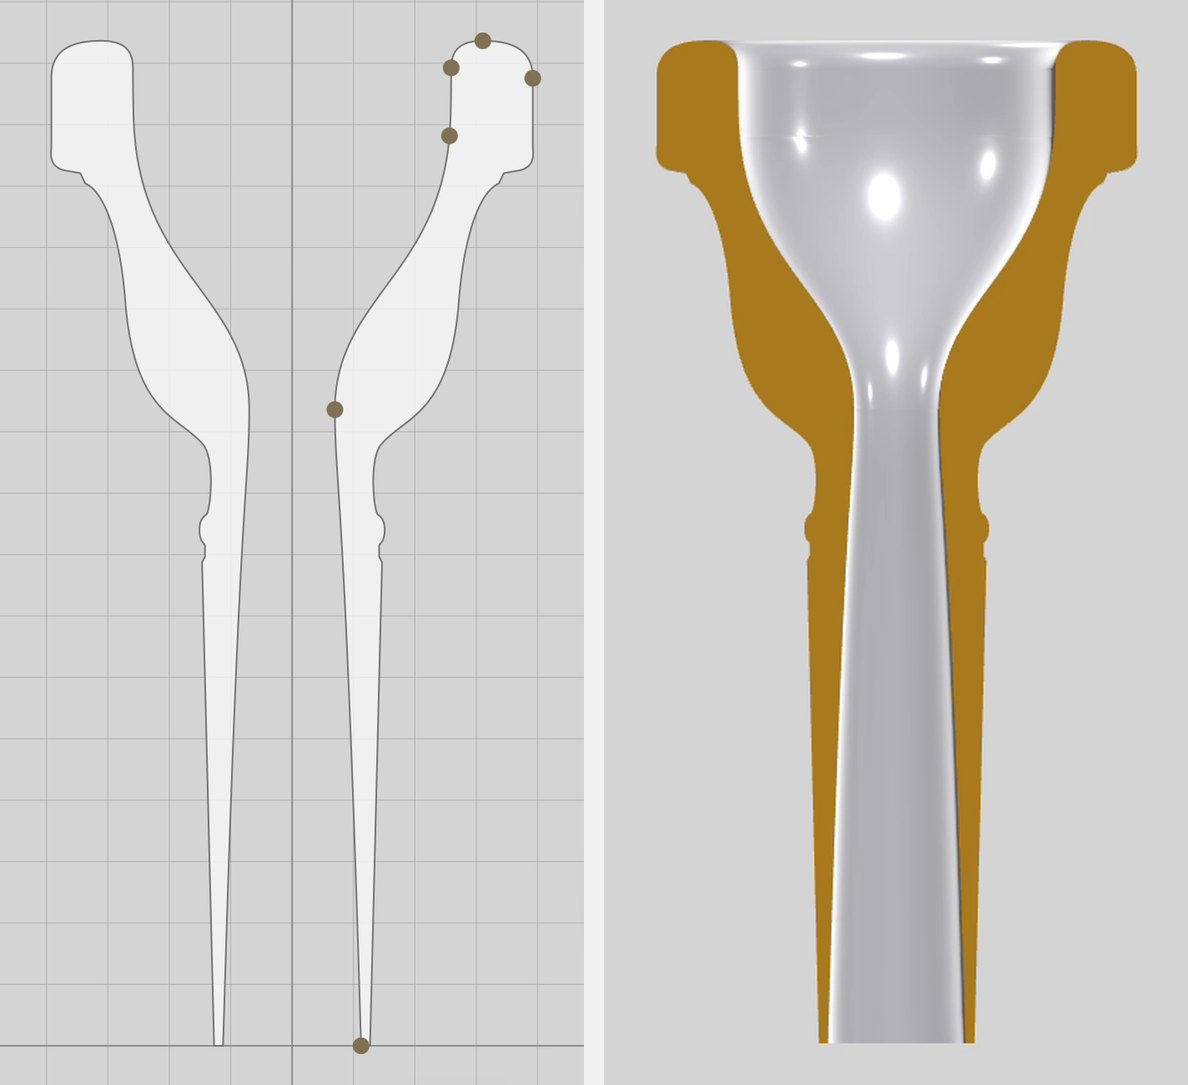
In this series, we’ll explore each section of a brass mouthpiece and discover how changes to size and shape affect both the sound and the way the mouthpiece feels. We’ll learn how to make those changes in the online configurator, and explore reasons why you may or may not want to. Every change has a trade-off, and it is worth understanding what you may gain or give up before you make it.
Before diving in I want to stress a few things, which are my own opinions. The first is that these articles and topics are likely overkill. You may already have a modification in mind, and if you do, your gut will be your best guide. The best practice I can recommend is to start with your current equipment, by utilizing our mold kits, and overlay them in the configurator. This way you can see exactly where things differ and you can use them as the thresholds for how far you may want to move things. Combine the best aspects of each piece or shape somewhere in between. The sensations you feel are unique to you and hard to put in words, so going with your gut and directly editing a familiar piece is what I personally recommend.
Ok with that now out of the way, let’s dive in.
The Rim
Most mouthpiece comparison charts use rim diameter as the main metric to compare mouthpiece sizes with each other, so this is a natural place to start. The rim diameter, sometimes called the cup width, and the shape or curvature of the rim both affect the ergonomics of your mouthpiece. All players have different physical makeups, and it is important for this contact point to feel natural since this is your physical connection with the rest of the instrument. Getting the right fit of the rim can help with endurance and also sets you up to make other changes further down the mouthpiece (cup, throat, and backbore). We will take a look at what changes you can make here to affect sound and feel, and how to modify them in the configurator.
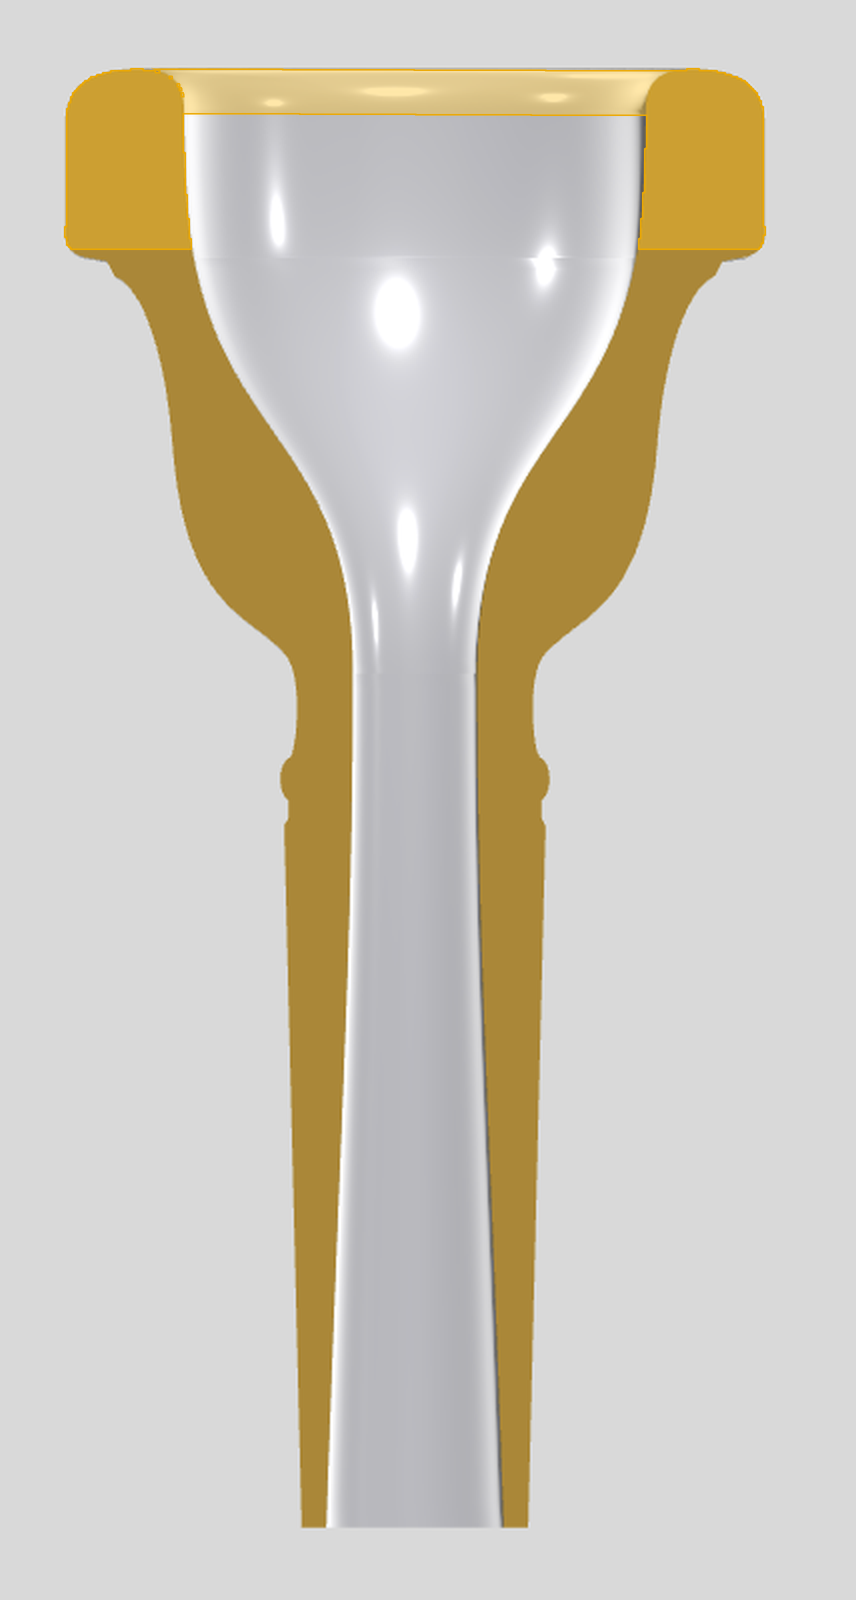
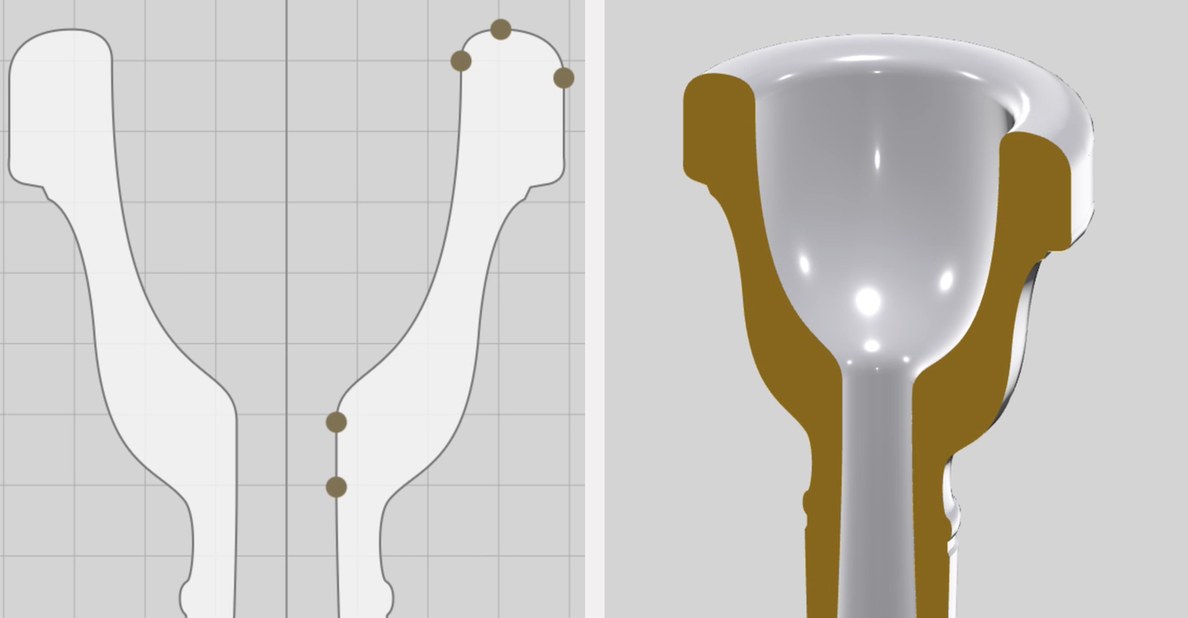
Fig. 1.1Directly adjust the rim shape in the configurator by moving anchor and control points independently.
The two main modifications you can make to your rim are the size and shape.
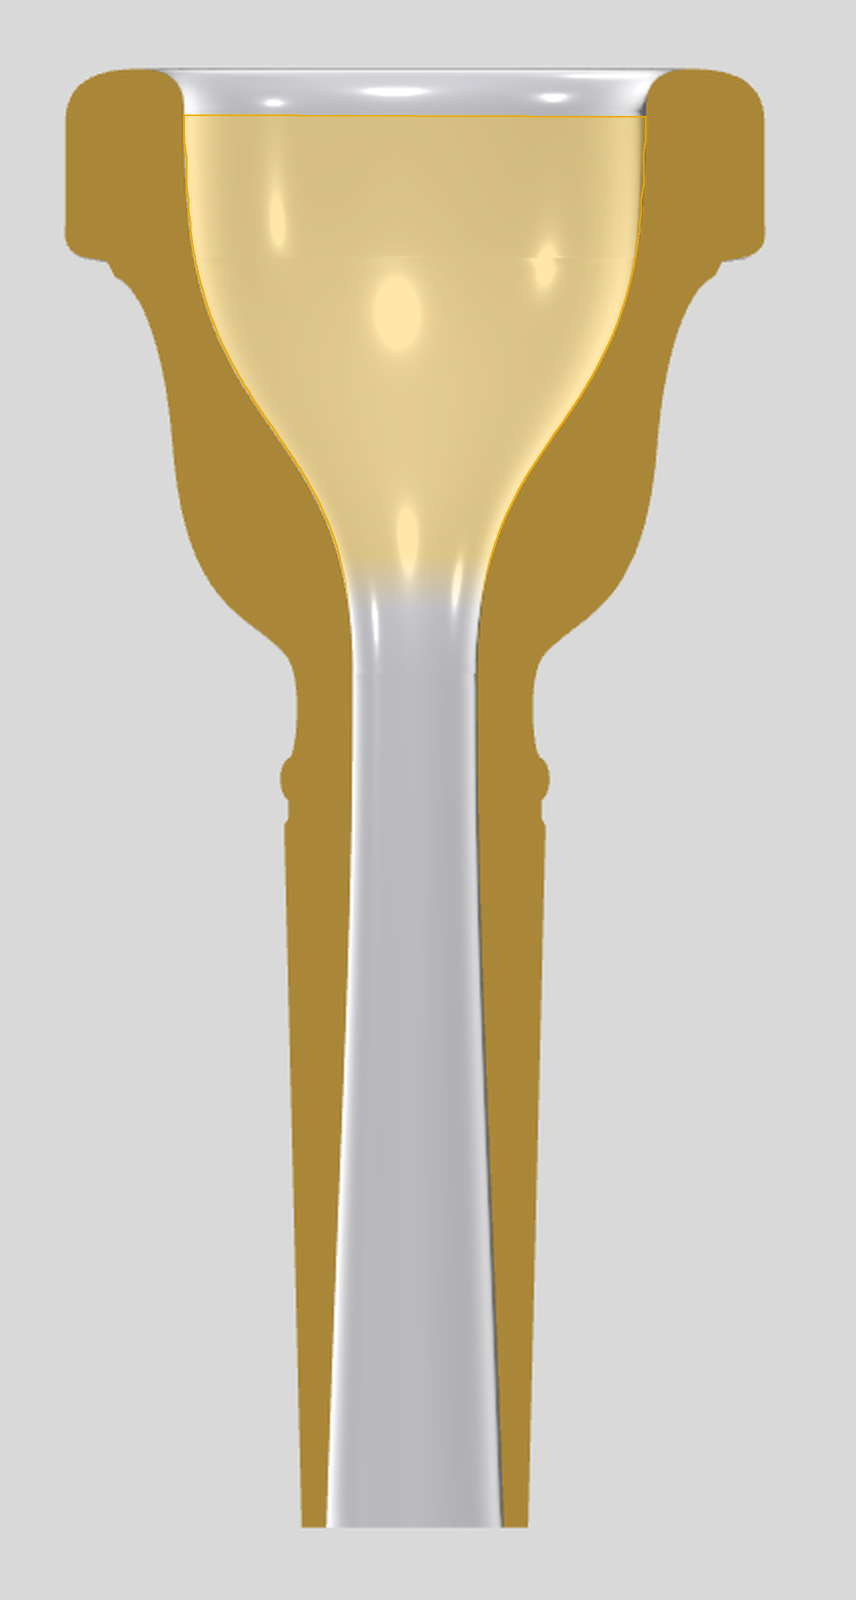
Fig. 1.2Rim section of the mouthpiece highlighted.
Size
When discussing rim size, we are specifically referring to the inner rim diameter. This is perhaps the most noticeable mouthpiece dimension so it is no wonder this is the metric used in comparison charts. But as we will see throughout this guide, a mouthpiece has many other unique characteristics and it is nearly impossible to reduce a comparison of two pieces down to a single measurement.
Fig. 1.3The Inner Rim slider adjusts the inner rim diameter.
Why you would want a larger or smaller diameter comes down to personal comfort and what your musical needs are. A lead trumpet player in a big band, for example, will likely benefit far more from a smaller rim than someone playing second or third trumpet in a Wagner chorale.
It is worth noting that what changing the rim diameter tends to do is amplify the effect of everything else in the mouthpiece. If you increase the rim diameter and also increase cup volume and throat size, those changes will compound, so a little really does go a long way. I personally recommend starting from a rim you already find comfortable and making your tonal changes further down the mouthpiece. Of course, all of this depends on what your goals are, so take everything with a grain of salt. We are all different players with different needs, and if your gut is telling you to change something, go ahead and try it. That is why we built the configurator in the first place.
Shape
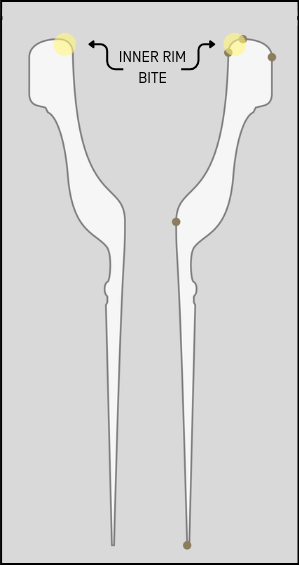
The other important thing to consider besides the size is the rim shape, and this is where traditional mouthpiece comparison charts tend to fail. The inner bite, meaning the angle and curvature of the inner edge of the rim, matters a great deal for comfort and for how large the mouthpiece feels. It is the point on the rim where your lips take the most pressure, and it can affect things like articulation and tone quality as well.
Fig. 1.4The inner bite is the area where mouthpiece pressure is felt the most.
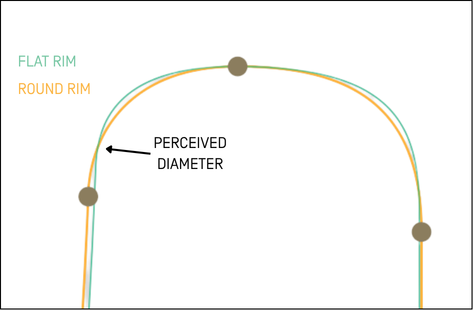
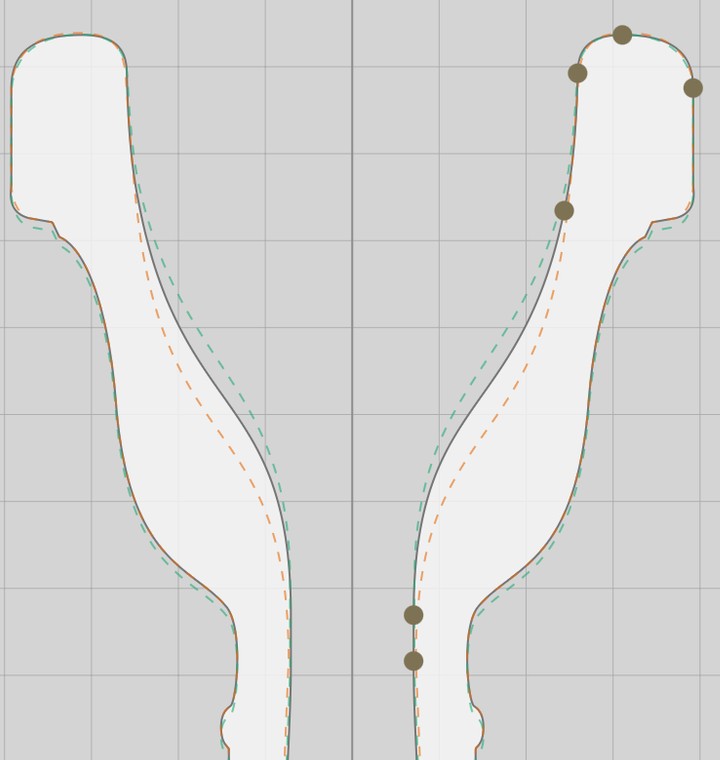
A rounder rim will naturally feel slightly larger than a flatter rim with a sharper bite. An example of this would be in the bass trombone world, the old Laskey 93D most often gets compared to a Bach 1G, even though the two are more than a millimeter apart in listed inner diameter. That gap is wider than the entire spread of Laskey's own bass line. The flatter, sharper bite of the Laskey makes it feel smaller than its measurement suggests, because the point of peak pressure sits at a different place on the curve while landing in a similar place on the face. In terms of sound, the flatter rim allows for a natural ping to the articulation, relative to a very round rim, which may introduce a burr to the start of the note. A rounder rim can provide better flexibility. All of this is still tied to how comfortable that particular rim shape is for you. Be careful not to go too extreme in either direction. A too flat or sharp bite usually leads to less endurance and the feeling of the rim cutting into your face (ouch!).
Fig. 1.5Overlay of a flat and round rim with different measured inner rim diameters but similar perceived diameter to the player.
Everything is give and take, and every player has a different sweet spot. Again I will recommend getting your mouthpiece scanned into the configurator, so you know exactly where your starting point is. Start with the rim you already like best and go from there, really only modifying if you need to.
Finding your baseline
Every player should find their natural baseline for rim size and shape. Aim for a true middle-of-the-road setup that lets your natural buzz produce a pure sound without having to alter it. Physical makeups differ in many ways (dental structure, lip thickness, etc.) so this baseline will be different for everyone.
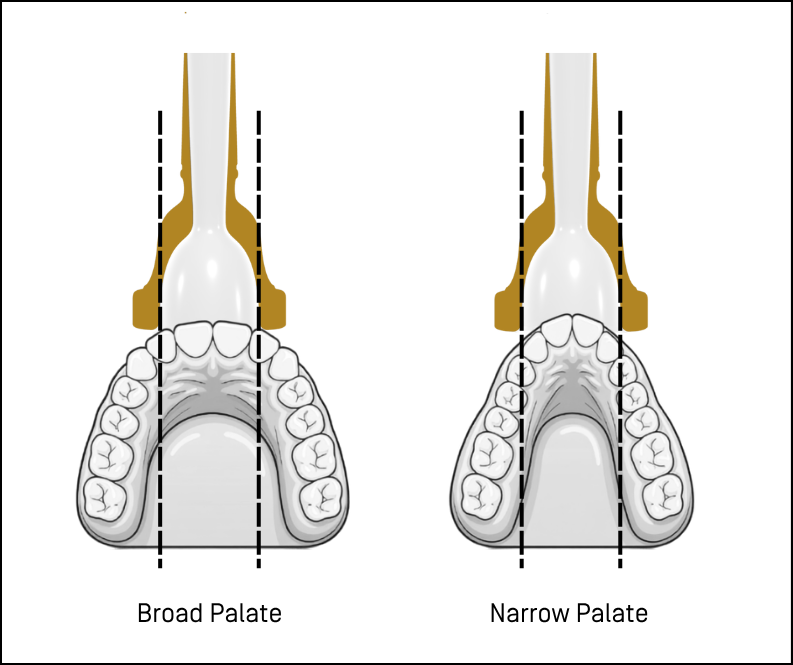
Take a look at these two examples, one player with a broad palate and one with a narrow palate.
Fig. 1.6The same mouthpiece on a broad palate and a narrow palate. Notice where the inner rim lines up relative to the teeth.
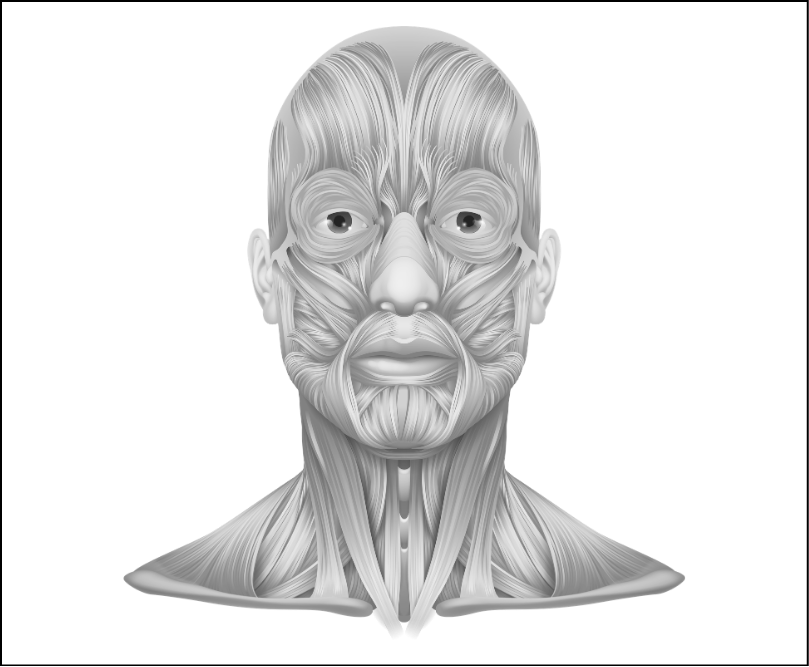
All of this affects how much of the mouthpiece covers which part of the lip and embouchure. Two players with very different dental structures will place the mouthpiece on different parts of the embouchure. The muscles involved are many small groups working together, and rim placement naturally changes which of them are doing the work at any given moment. One player's neutral position is unlikely to be the same as anyone else's.
Fig. 1.7Many small muscle groups work together to form an embouchure. Where the rim sits can determine which of them are activated.
It is also why traditional signature mouthpiece models often do not translate as much as a player may hope, since that mouthpiece was made for specifically one person. You may get some benefit from sounding closer to that player, but if the rim is not at your neutral comfort level, you are setting yourself up for strain and discomfort in the long run.
Configurator Practice
There are many options in the configurator for adjusting these parameters. When you change the inner rim, you can choose Lock Inner Bite or Proportional. One keeps the curvature of the inner rim exactly as it is, while the other keeps the proportions of the rim intact as it scales. Proportional is recommended if you are making larger adjustments (over one mouthpiece size up or down). For small diameter changes (half sizes or smaller), keeping the inner bite may be your better option.
Fig. 1.8Lock inner bite vs. Proportional movement.
The trade-offs
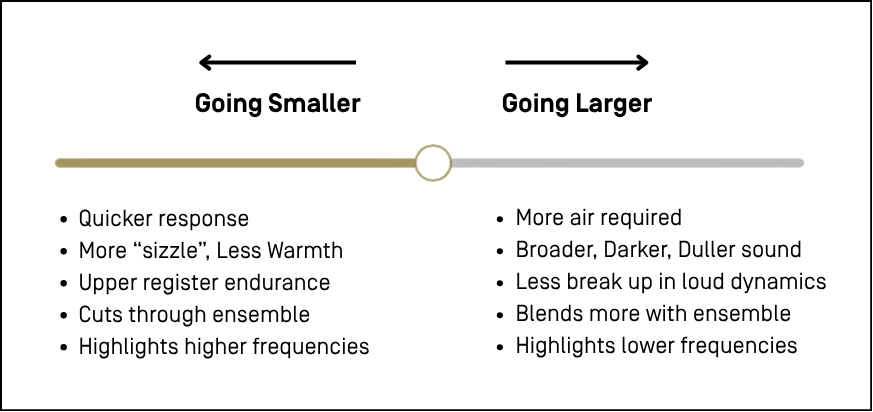
Originally I wanted to include a pros and cons list to show the trade-offs of modifying in each direction. But as is the theme with everything custom, one player's pro is another player's con. So instead, below is a general and neutral set of what I’ll call consequences.
Fig. 1.9General consequences of moving the inner diameter in either direction.
The Cup
The cup is likely the most varied profile between mouthpiece manufacturers. These are difficult to measure and often in mouthpiece comparison charts are vaguely summarized by something like "deep, shallow, or semi-deep". There are many more details here and we will explore where you may want to modify and why.
You can think of the cup as a resonating chamber. It is where your sound color first begins to take shape, transitioning the buzz from your lips into the rest of the horn. The cup can be altered to help with certain tone color changes, air resistance, and more.
Fig. 2.1Cup section of the mouthpiece highlighted.
The two main ways to modify your cup are the depth and the shape. Modifying each of these will effectively change the cup volume, which is the one metric we can truly measure.
Trade-offs
Like with the rim, every change to the cup has a trade-off in both sound and feel.
Feel is mostly sensed by air resistance and modified by adjusting the shape and angle of the cup leading into the throat.
Generally, tonal changes to your sound are correlated with cup volume, though the shape of the cup plays a role here as well. This can be adjusted in many ways depending on your goal.
If you are looking for only small adjustments to these, I’d recommend adjusting the cup depth only. This will maintain the general shape of your existing cup, keeping fundamental qualities the same and simplifying the changes being made.
If you want multiple improvements like a warmer sound (where going larger would help) but without losing ease in the upper register (where simply going larger would hurt), this is when experimenting with different cup shapes can help compensate for changes. Expanding some areas while narrowing others can help achieve this balance.
Changing the shape is best done using reference overlays of mouthpieces you already know and play.
Cup depth
The simplest way to change your cup is by adjusting the cup depth. We make this easy to do in the configurator, by maintaining the cup shape while you make these adjustments.
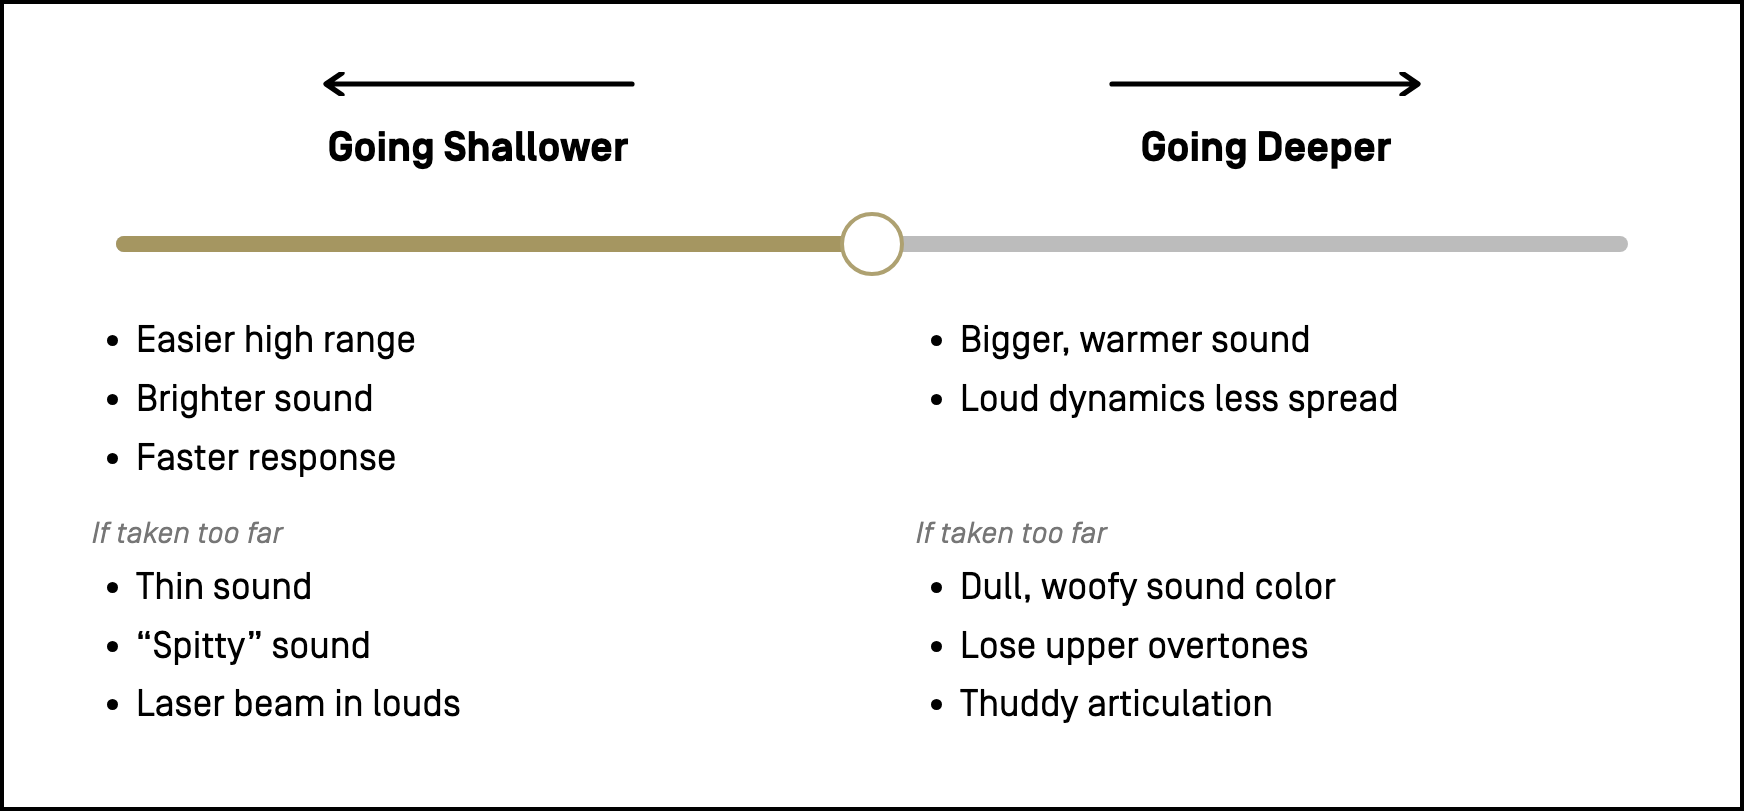
Generally speaking, a deeper cup will highlight the lower end frequencies in your sound. This can help especially in loud orchestral playing if you wish to keep the brightness out of it. Take this too far and you risk your sound becoming dull and/or woofy. Deeper cups can also help warm up the sound and get rid of some scratchy/spittiness that may pop up if the cup is too shallow. Just remember, the deeper you go the less control you will have in changing tone color, especially the upper overtones. The same thing may occur with pitch. A deep cup has potential to feel like you are locked in to your tone color and pitch, whether you like it or not, and make it more difficult to adjust these on the fly.
Counter all of that with bringing the cup closer to the rim and now your higher register and overtones become more natural. You will not need as much air to reach your max volume and because of that you may risk early overblowing or becoming a laser beam. Your low register may suffer here if taken too far, especially if trying to blend in a big sounding orchestral section.
In the configurator there are two ways to adjust cup depth:
By using the slider
By dragging the point directly
Note how these changes adjust the cup volume.
Hint: If dragging the point directly, lock the throat diameter first to avoid offsetting that parameter.
Fig. 2.2Adjust cup depth via slider or dragging points directly.Fig. 2.3General consequences of moving cup depth in either direction.
Cup shape
The other way to adjust cup volume is by fine-tuning the shape of the cup. We offer stock presets to start from, though I recommend getting your mouthpiece scanned to see exactly where yours lies within this spectrum. The shape and angle of the curve at the bottom of the cup leading into the throat can help speed the air up or add resistance, so modify wisely.
Fig. 2.4Stock cup options in the configurator are solid options as is or use them as a starting point and modify further.
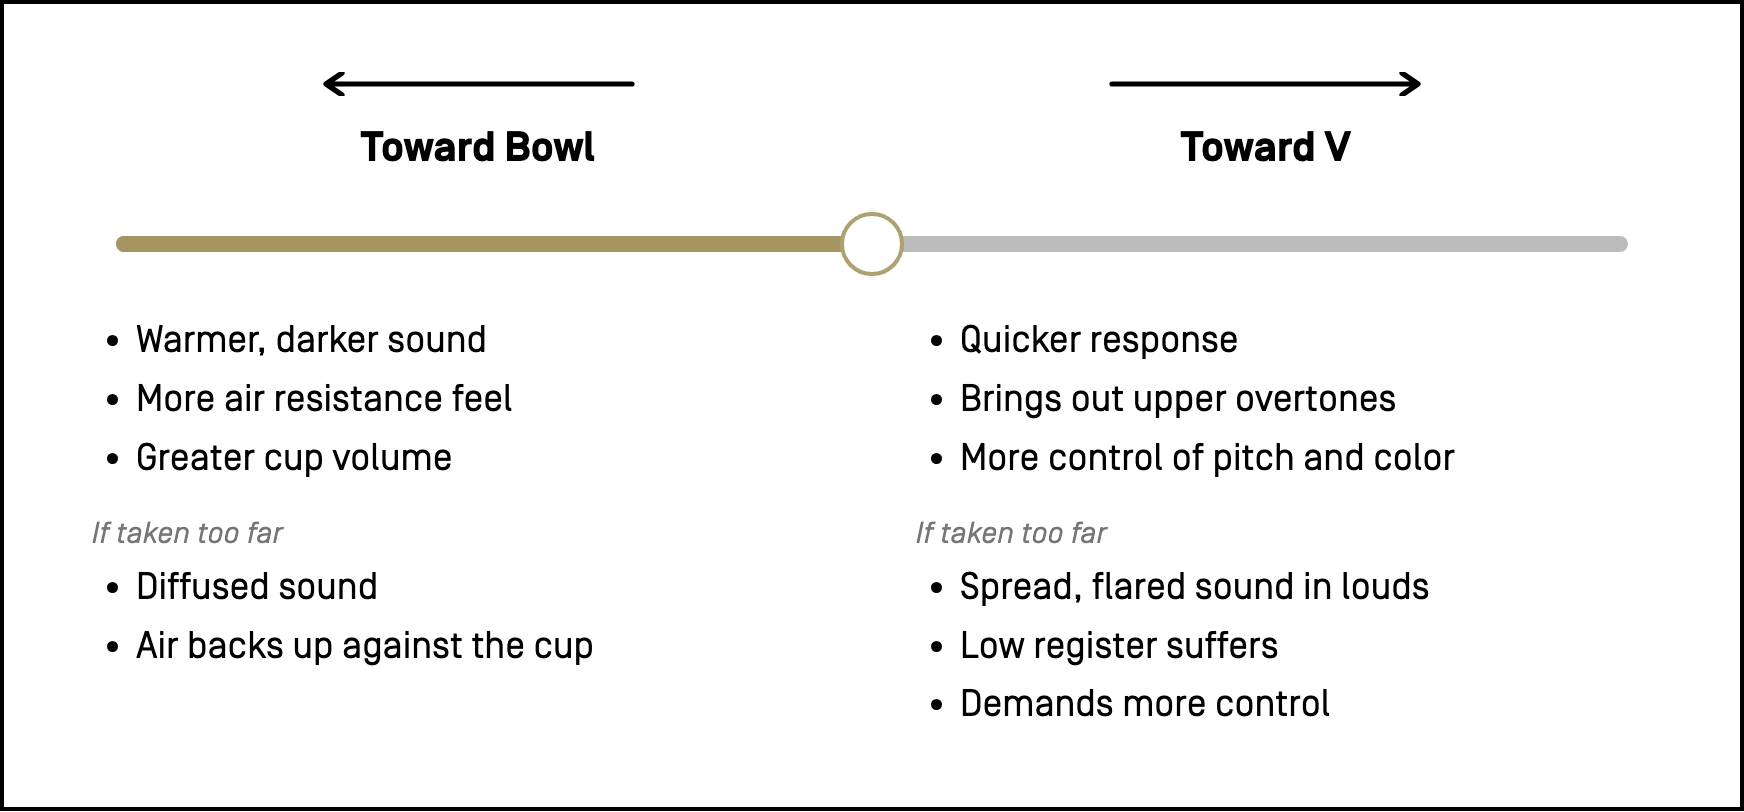
A bowl-shaped mouthpiece naturally leans warmer and darker. This is due to the aerodynamics of the airflow, or lack thereof. In a bowl or U-shape cup, the air will back up against the end of the cup like a wall rather than slide into the throat. Naturally, a bowl shaped cup also has greater cup volume. Think of this as acoustically similar to playing in a large cathedral. The more room the sound (or buzz) has the more diffused it will become. Air resistance here isn't necessarily a bad thing either. Resistance is necessary and how much or how little depends on your personal preference.
Opposite to this is a more V-shaped cup, which will funnel the air faster into the throat. This can help with a quicker response and help bring out upper overtones. A V-shaped cup requires more control on your part though. You have greater ability to control pitch and tone color, but that can quickly lead to a spread, flared out sound in the loud dynamics if not careful. Low register will suffer as well, especially if combined with a shallower cup depth, so again, finding that balance is key.
V-Cup
Bowl
Fig. 2.5Airflow comparison between V-shape and Bowl shape cups. Bowl shape cups provide greater air resistance feel while V-shape will funnel the air quickly through the throat.
The standard cup is somewhere in the middle of these two. Rather than a straight V shape all the way from the rim into the throat, the shape is more like an S, so a bowl like upper cup with more of a funnel leading into the throat. This allows for greater cup volume without negatives of a super deep bowl cup. You can adjust the airflow by adjusting the funnel into the throat. There are many changes you can make here and each have consequences, so tread carefully!
Again, I highly recommend scanning multiple of your own mouthpieces into the configurator so you can see exactly how yours differ from each other. Seeing what "home base" is to you will allow you to be able to associate shapes to what aspects you like or dislike about the piece.
Fig. 2.6Overlay multiple mouthpiece cup shapes in the configurator.Fig. 2.7General consequences of moving cup shape in either direction.
Configurator Practice
The configurator allows you to pick from our stock cup presets, or if you have scanned in your mouthpiece with our Mold Kit, you can start from there as well.
If you simply want to make a small modification to a cup you mostly like, adjusting the Cup Depth slider is by far the easiest method.
If you have multiple mouthpieces you'd like to compare, you can overlay them by selecting them in the Reference menu in the top menu bar. This is recommended if you want to split the difference or go somewhere in between the two.
Most cup shapes can be made by simply adjusting the control handles of the inner rim point and throat point. You may need to adjust each of those points first to get into the right position. Some cups require further fine tuning to get exactly right. To help, you are also able to add two additional control points, each with their own control handles, to get the exact shape you want.
Fig. 2.8Directly shape the cup via control point handles.
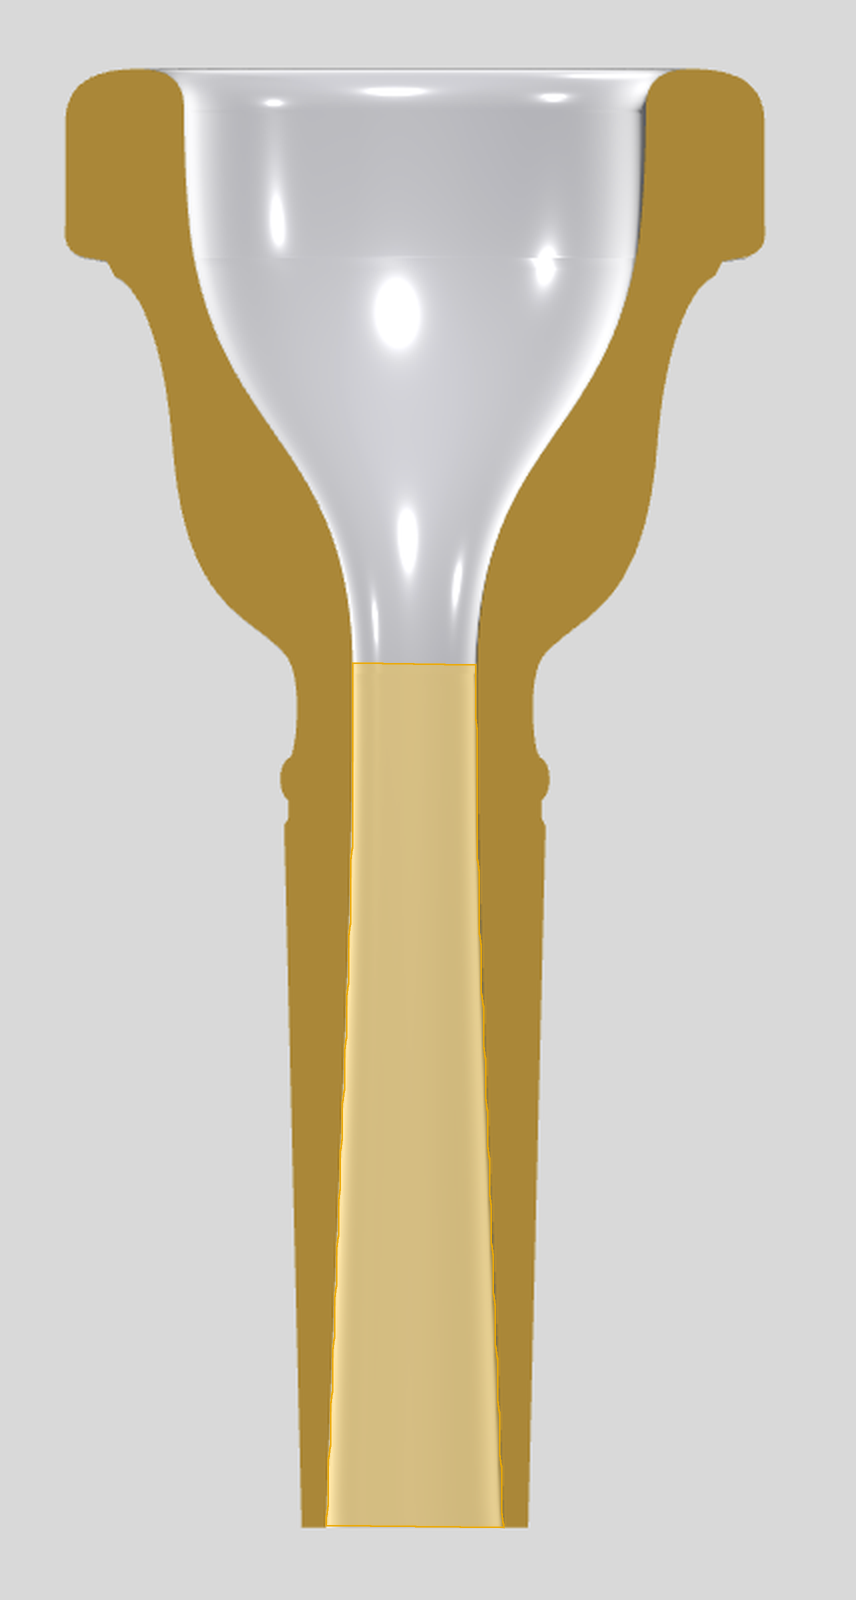
The further into the mouthpiece we go the less commonly known parts like the throat and backbore are. These two transition your air/sound from the mouthpiece into the rest of your horn and will be the final interior profiles we will look at. Throat size is fairly simple to discuss as it is just one parameter. The backbore gets a little more complicated, but the concepts we've talked about in the rim and cup articles carry over here as well.
Fig. 3.1Throat and backbore section of the mouthpiece highlighted.
Throat
The throat is the point or section between the cup and backbore that is the smallest diameter of the mouthpiece profile. The trade-offs are similar to those changing the size of the rim or cup, but the throat offers a simpler way of adjusting those things. It is the bottleneck for the air and only one parameter to change.
As you can imagine, opening up this parameter (the Throat Diameter slider in the configurator) lets the air flow quicker. Imagine a big boba or smoothie straw compared to a thin coffee straw. Keep in mind that going larger also means the amount of air control required of you is higher, so certain things may take more effort.
Some mouthpieces have an elongated throat, which in the configurator can be adjusted by switching on Cylindrical Throat and using the Cyl. Length slider. This will add length to the throat diameter rather than keeping it just to one point. Doing this can help add some air resistance and fine-tune the air flow.
Fig. 3.2Cylindrical Throat length being adjusted in the configurator.
Backbore
In the same way the bottom of the cup funnels air into the throat, the backbore does the same thing transitioning from the mouthpiece into your instrument. Changing backbores is more popular on some instruments than others. Trumpet players, for example, have many instruments they switch between, and certain backbores may match better with certain instruments.
The same concepts discussed previously apply here, with airflow being the factor that changes feel and sound. A narrower backbore will squeeze the air more, possibly improving upper register playing, but at the expense of a smaller, less open sound.
Fig. 3.3Standard vs. Open backbore. Click preset to see change.
Configurator Practice
Unless you have a strong idea of what you would like to change here, we recommend sticking with one of our standard presets (Stock Backbore Profiles) or a scanned one of your own. Keep in mind what instrument your mouthpiece is going into and modify as needed.
Modifying the shape of the backbore is similar to modifying the cup. First click on the point on either end of the backbore to show the control handles available to edit. Adjust the length and angle from each side as needed.
Fig. 3.4Adjust backbore shape via control points in the configurator.
We also include a chamfer option (End Chamfer) for narrower backbores so the end of the shank isn't a thick wall. Some manufacturers' mouthpiece models come in different shank options, like small or large bore trombone. Sometimes the same backbore reamer is used on the large shank version as the small shank version, for better or worse. To ease the transition into the instrument a chamfer is used. A better option may be to make these adjustments to the entire backbore, rather than the end, but the option is there.
Fig. 3.5End Chamfer slider in configurator.
The inner profile is now complete, however there are still more possibilities to modify. In the next article we'll discuss how the Outer Blank of the mouthpiece can also affect your sound and feel.